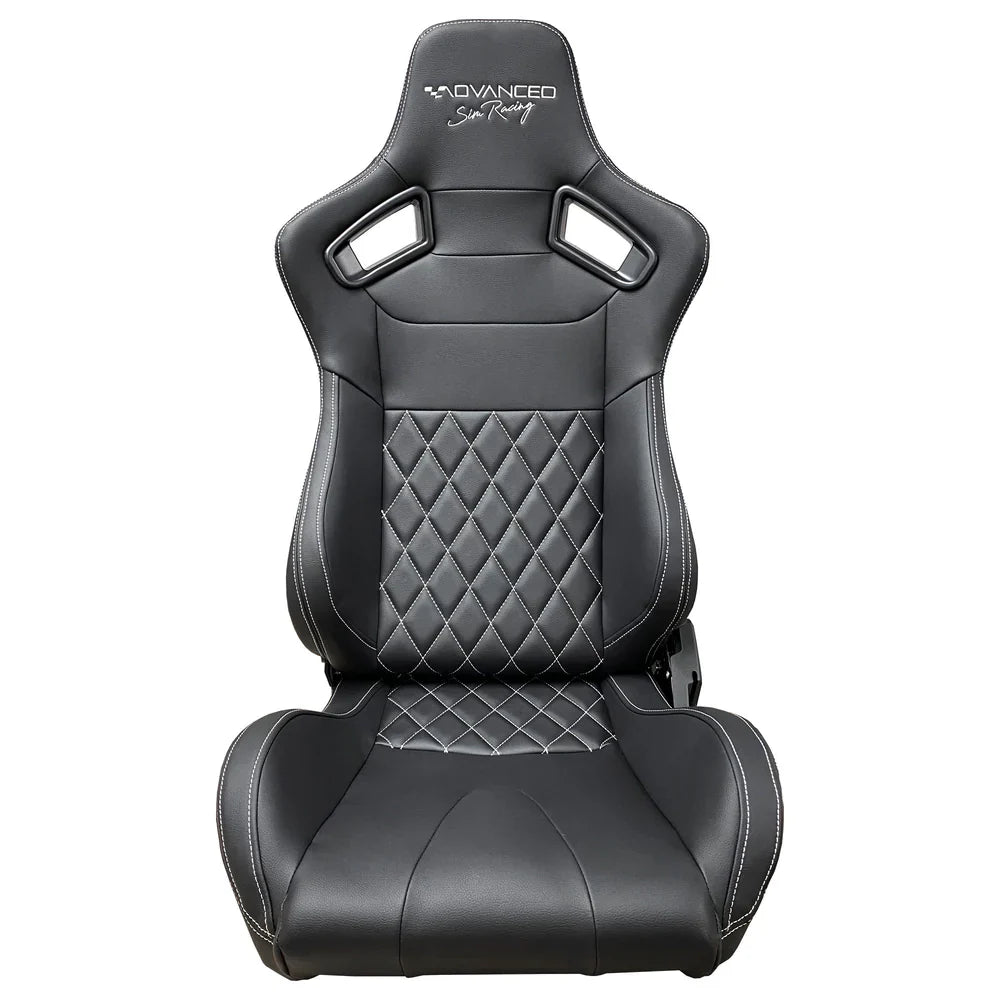
Advanced Premium Recliner Seat (Vinyl)
Advanced Premium Recliner Seat (Vinyl)
Regular price
$529.99 CAD
Regular price
Sale price
$529.99 CAD
Unit price
per
Shipping calculated at checkout.
Couldn't load pickup availability
WHAT'S INCLUDED?
- ASR Recliner Seat Vinyl
- Sliding seat rails
- No mounting hardware included
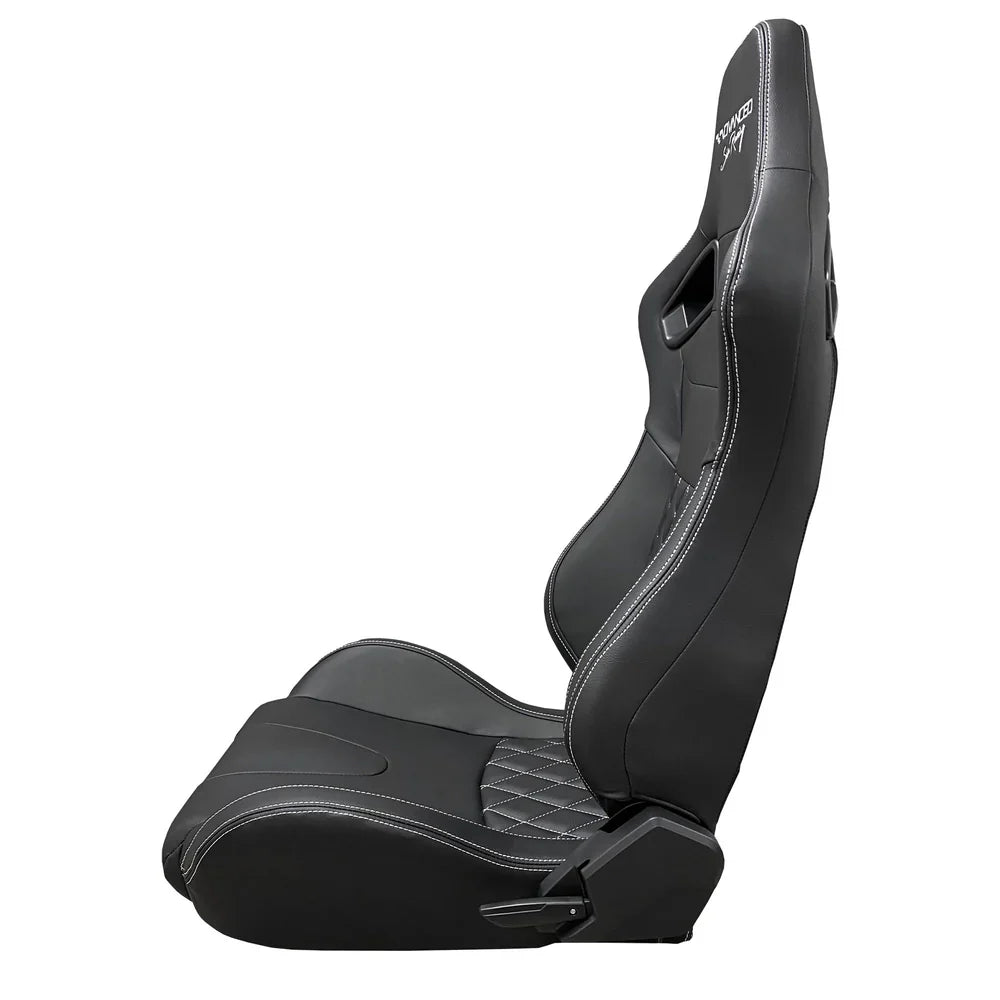
SPECS
- Seat height (from bottom to top) : 36"
- Seat width : 20.5"
- Seat length : 22" (standard tilt)
- Inner seating measurements
- Width at shoulders: 21" (broad opening)
- Width at thighs : 15" (broad opening)
- Seat depth : 19"